Tower Defenders: Strategy Guide for Surviving the Undead Viking Siege
Undead Vikings at the Gates
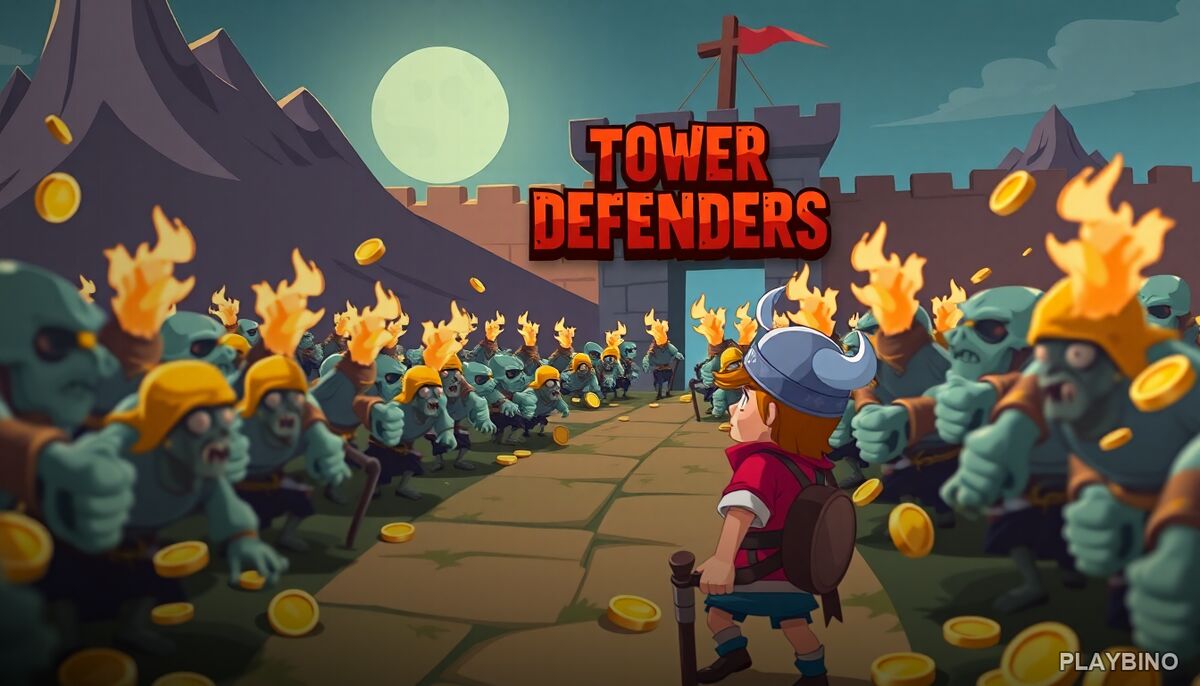
Most tower defense games pit you against generic enemies marching in neat lines. Tower Defenders takes a different angle — skeletal Viking warriors storm your fortification in relentless waves, and the pressure builds fast. The setting gives the combat a distinct flavor, and the escalating difficulty means early complacency will cost you dearly in later rounds. You can play it directly in your browser without any downloads or accounts.
What You're Actually Doing
The core loop is straightforward: position defensive structures across the battlefield before and between waves, collect gold from defeated enemies, and reinvest that gold into upgrades or new towers. What makes it engaging is the constant tension between expanding coverage and deepening your existing defenses. Spreading too thin leaves gaps. Stacking upgrades in one lane ignores flanking routes. Neither extreme works for long.
As waves progress, the undead horde introduces tougher unit types that resist your current setup. That forces real-time adjustments — not just placing more towers, but rethinking which structures belong where.
Placement and Coverage
Chokepoints
The most effective placements funnel enemies through narrow corridors where multiple towers overlap. Identifying natural chokepoints on each map and anchoring your early towers there creates a strong foundation. Wasting gold on wide-open placements early on is one of the most common mistakes.
Coverage Gaps
Later waves often introduce enemy routes that bypass your established kill zones. Keeping a small gold reserve specifically for reactive placements — rather than spending everything on upgrades — gives you flexibility when a new path opens up. Reactive coverage is often the difference between a clean defense and a breach.
Upgrade Priorities
Not every tower deserves equal investment. Structures sitting on high-traffic paths return far more value per upgrade than those covering secondary routes. Prioritize damage upgrades on your most active towers first, then extend range on towers guarding flanks. Resist the urge to upgrade everything evenly — concentrated firepower on the main approach usually outperforms a balanced but shallow spread.
- Upgrade towers on primary enemy paths first
- Range upgrades matter most on perimeter towers
- Reserve some gold for emergency placements between waves
- Reassess your layout after each wave that breaks through
Managing the Gold Economy
Gold flows from defeated enemies, which means slower waves early on produce less income. Spending aggressively on wave one leaves you underprepared for wave three. A measured approach — build enough to handle the current wave comfortably, save the rest — compounds over time. The zombie strategy of hoarding resources until a critical threshold pays off here in a similar way: patience with the economy translates directly into resilience against harder waves.
Retro Tower Defense takes a comparable approach to resource tension, and that game's breakdown of wave economy is worth reading alongside this one if you want to sharpen your broader tower defense instincts.
When the Assault Intensifies
The mid-to-late game in Tower Defenders is where strategy separates from luck. Skeletal warriors with higher health pools demand either upgraded damage output or longer exposure time — meaning tighter chokepoints and slower pathing. If enemies are reaching your gates, the problem is almost always either insufficient damage concentration or a coverage gap that opened unnoticed.
PlayBino hosts the game in a clean browser format, so returning to a failed wave and adjusting your approach takes seconds. Use that speed to experiment. A placement that felt wrong on wave six might be exactly right on wave ten once you understand the enemy routing better. The tactical depth here rewards iteration more than any single perfect strategy.